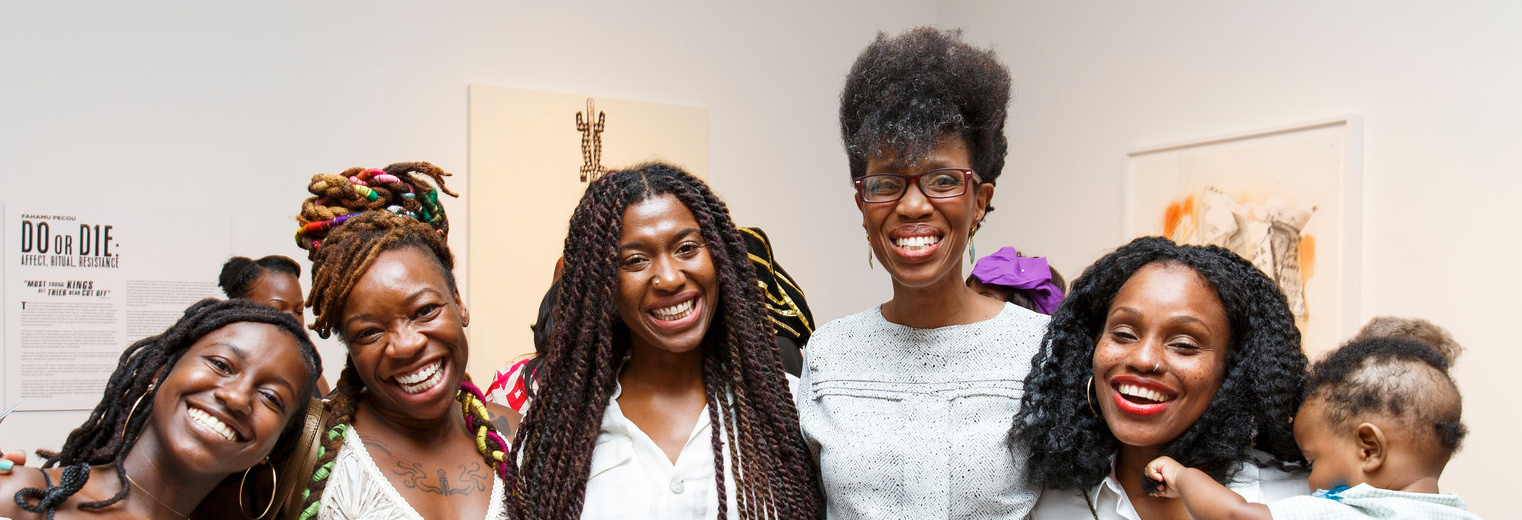
Week 3 of 10/10—Reflections on a Decade of Exhibitions takes us back to the year 2012, a year that the Halsey Institute showcased some quite impactful art exhibitions. This week’s project is inspired by the beautiful salt exhibitions of Japanese artist Motoi Yamamoto from his exhibition Return to the Sea.
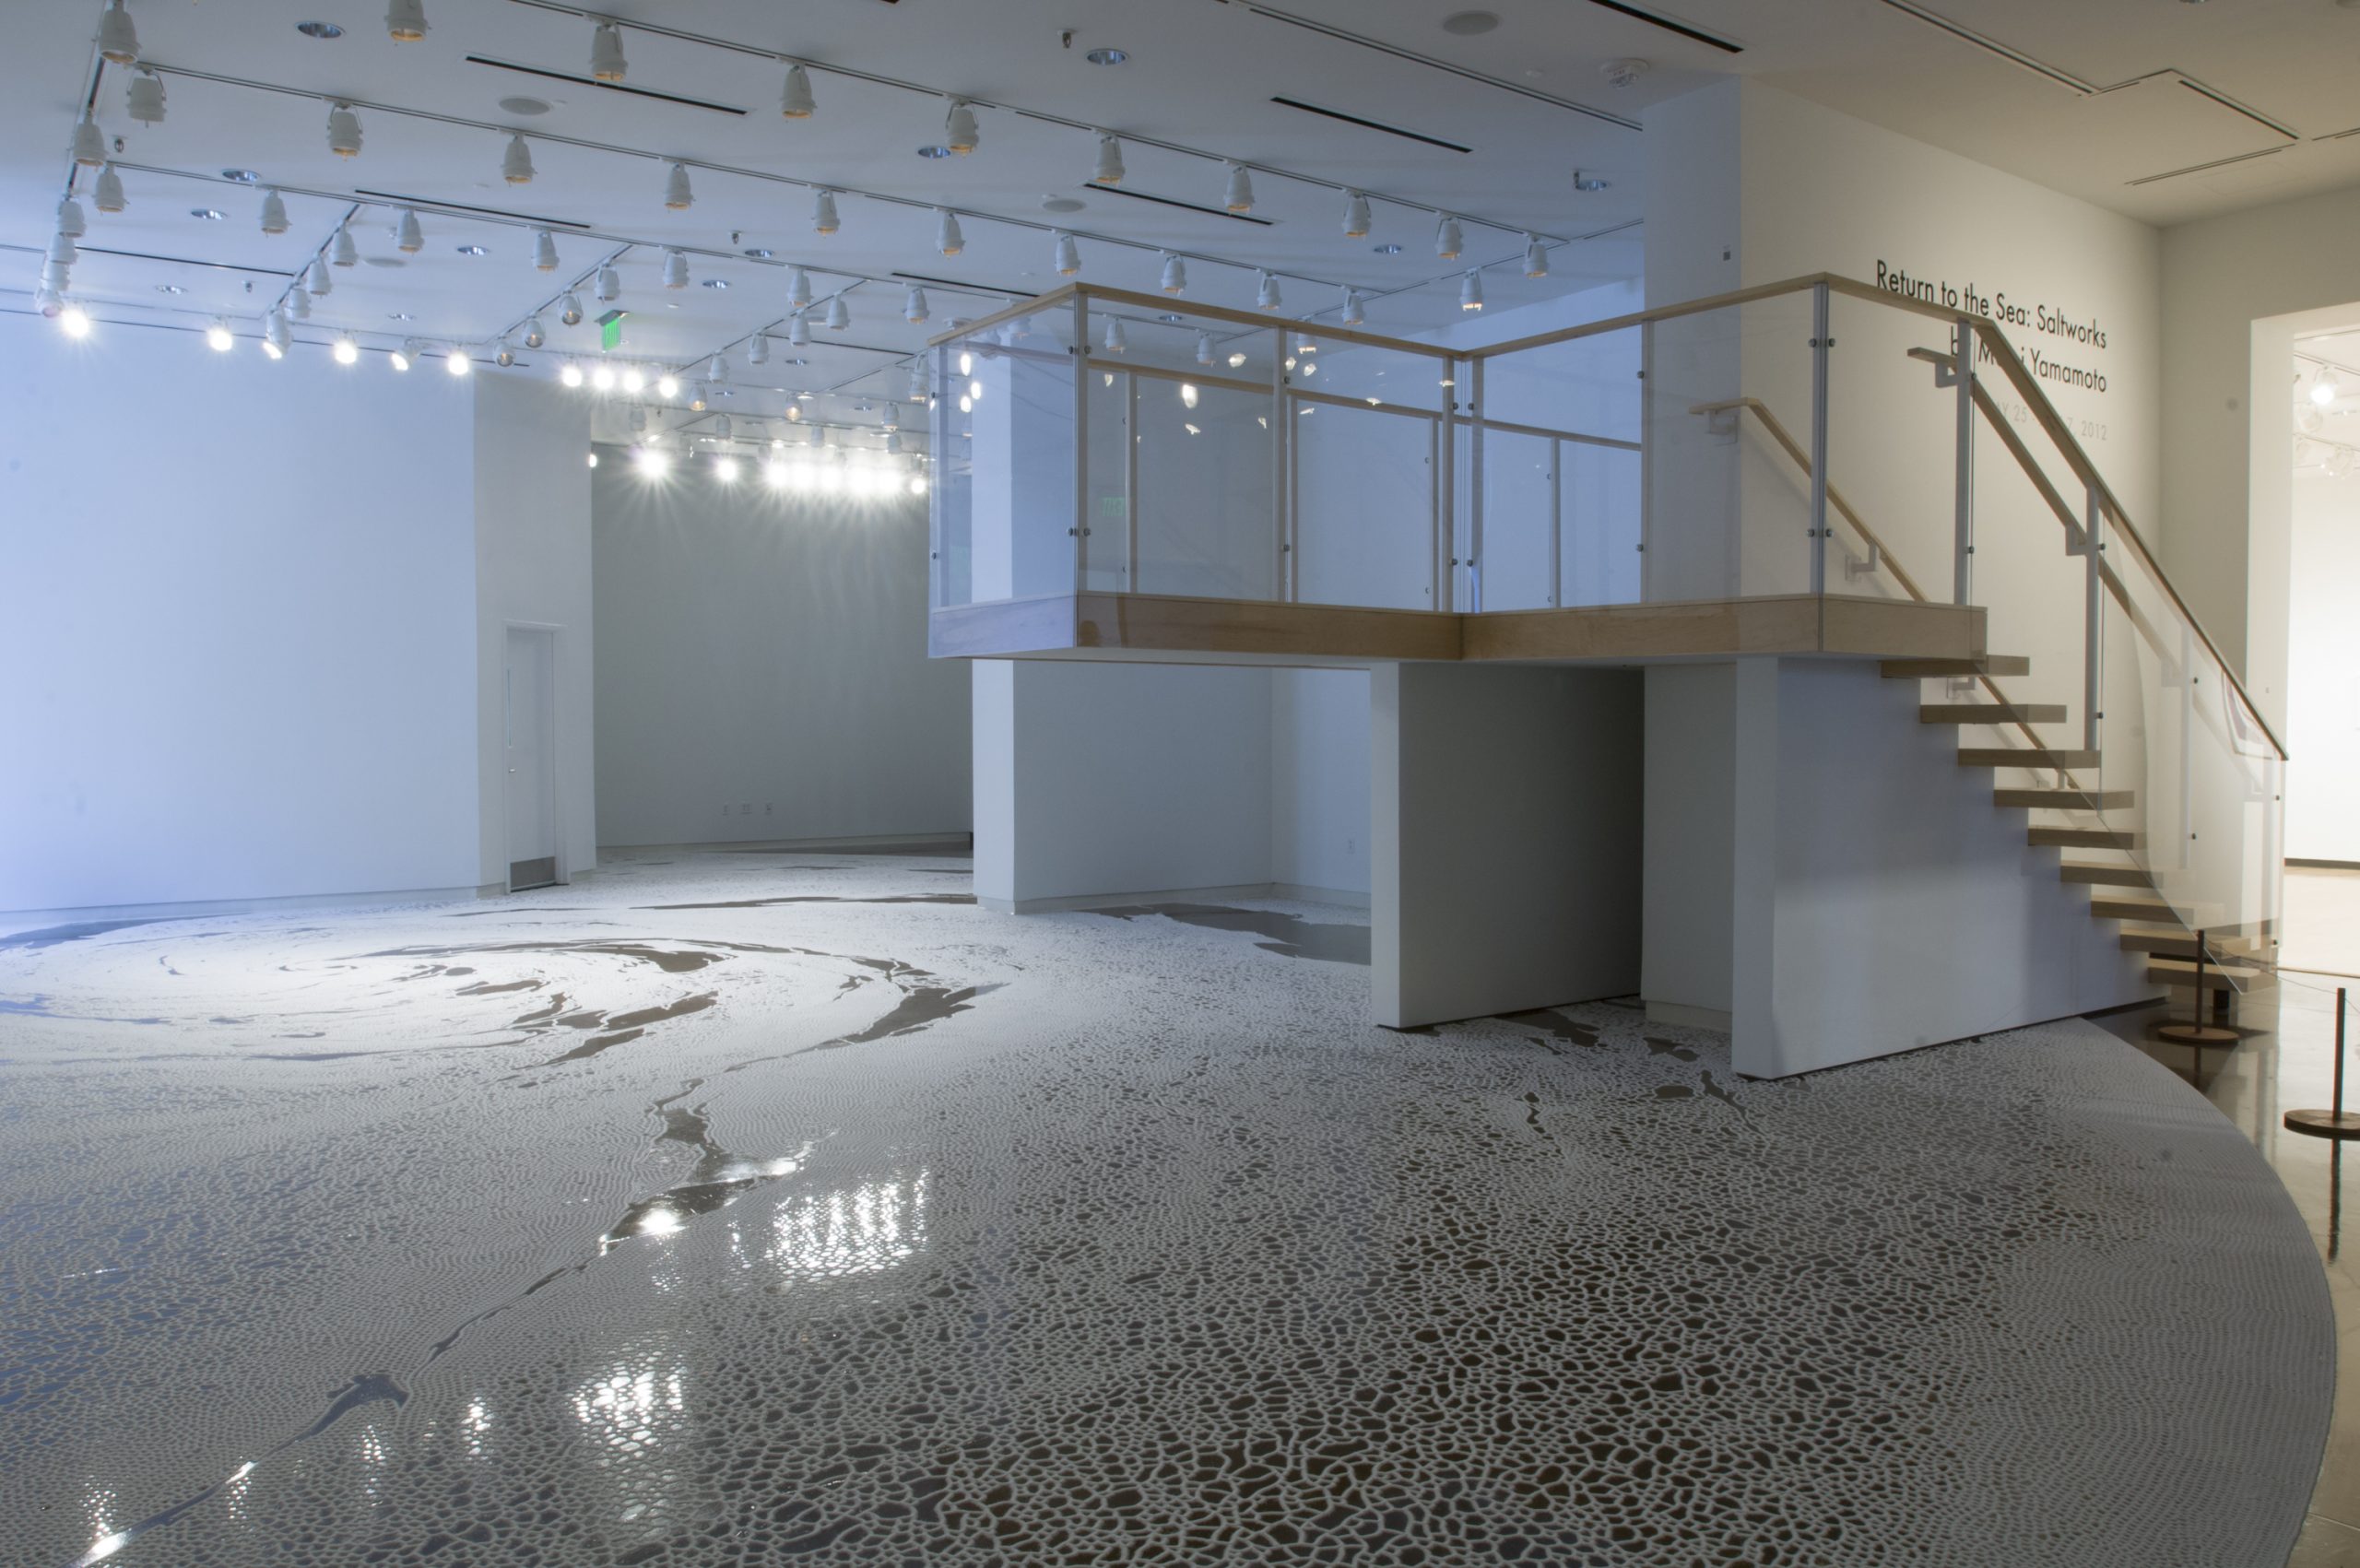
Salt is used as a symbol of purification as well as mourning in Japanese culture. Motoi Yamamoto started working with the element as a way to honor the memory of his sister, who passed away from brain cancer at the age of twenty-four. In addition to Motoi’s large laced-salt labyrinth in the galleries, we built a table for museum visitors to try out their salt skills. Another unique aspect of his installations is the dismantling at the end of the show, where members of the community are invited to participate in bringing the salt back to the sea. Watch a video of the dismantling event here!

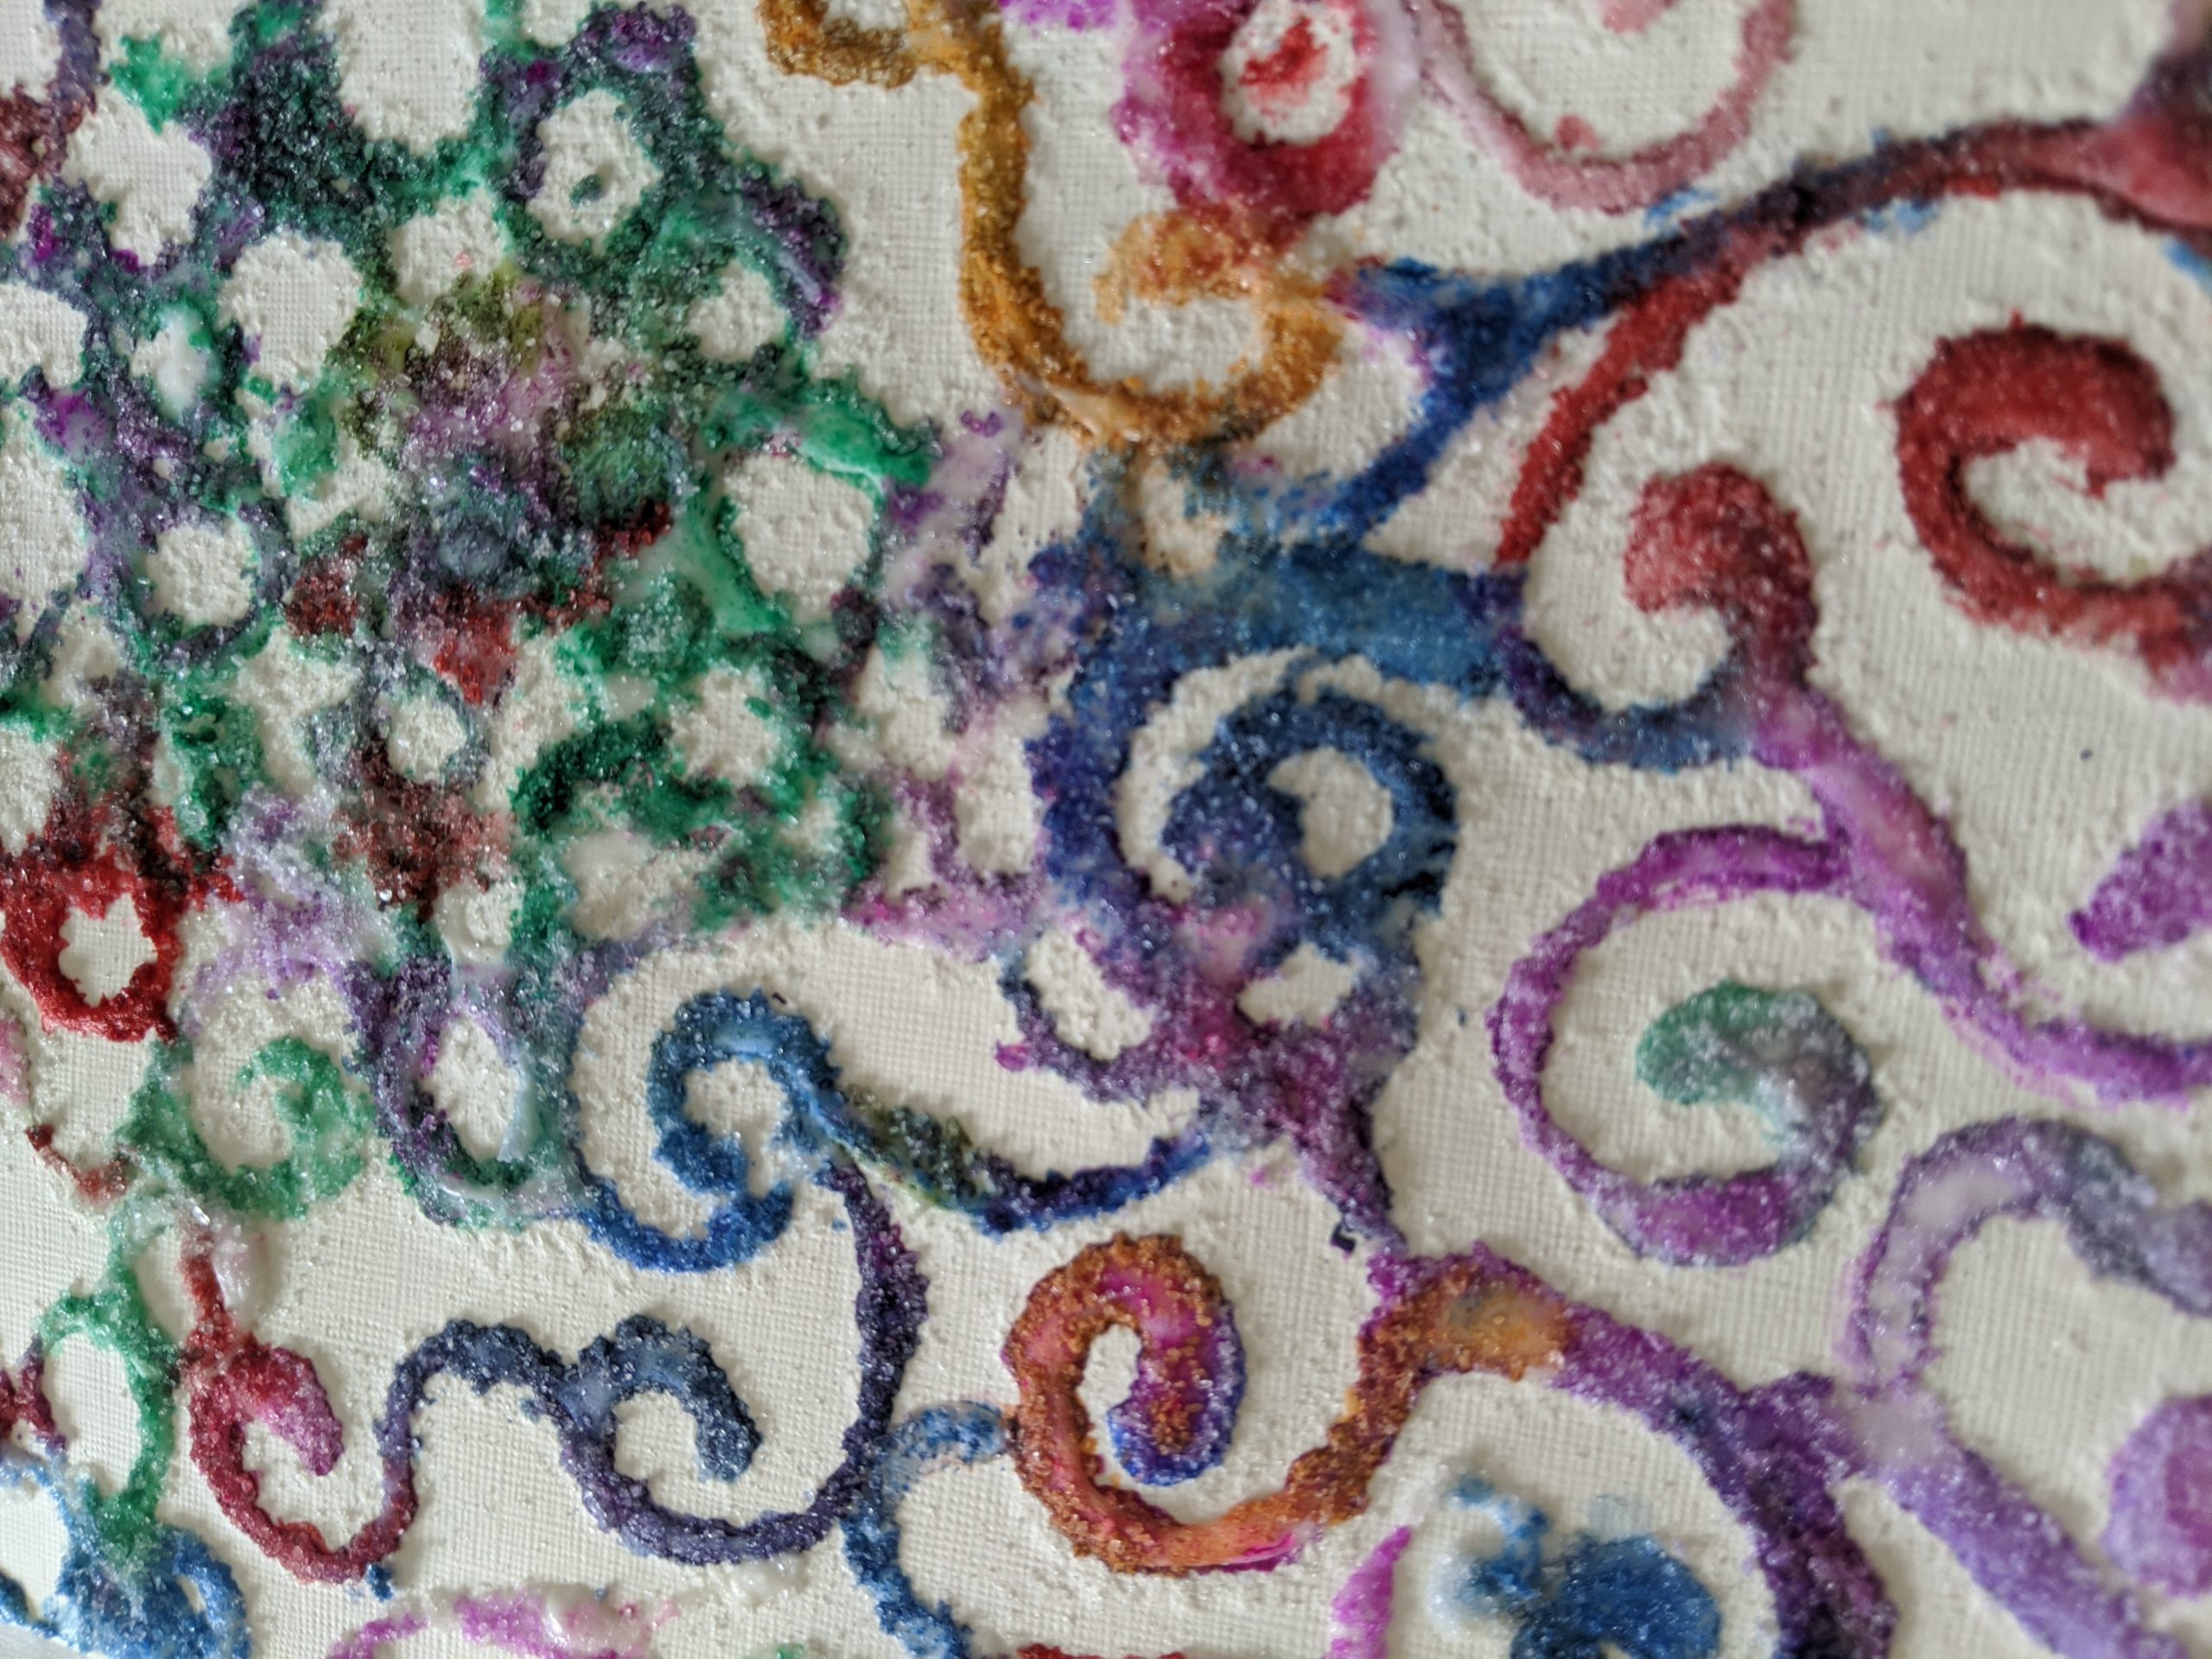
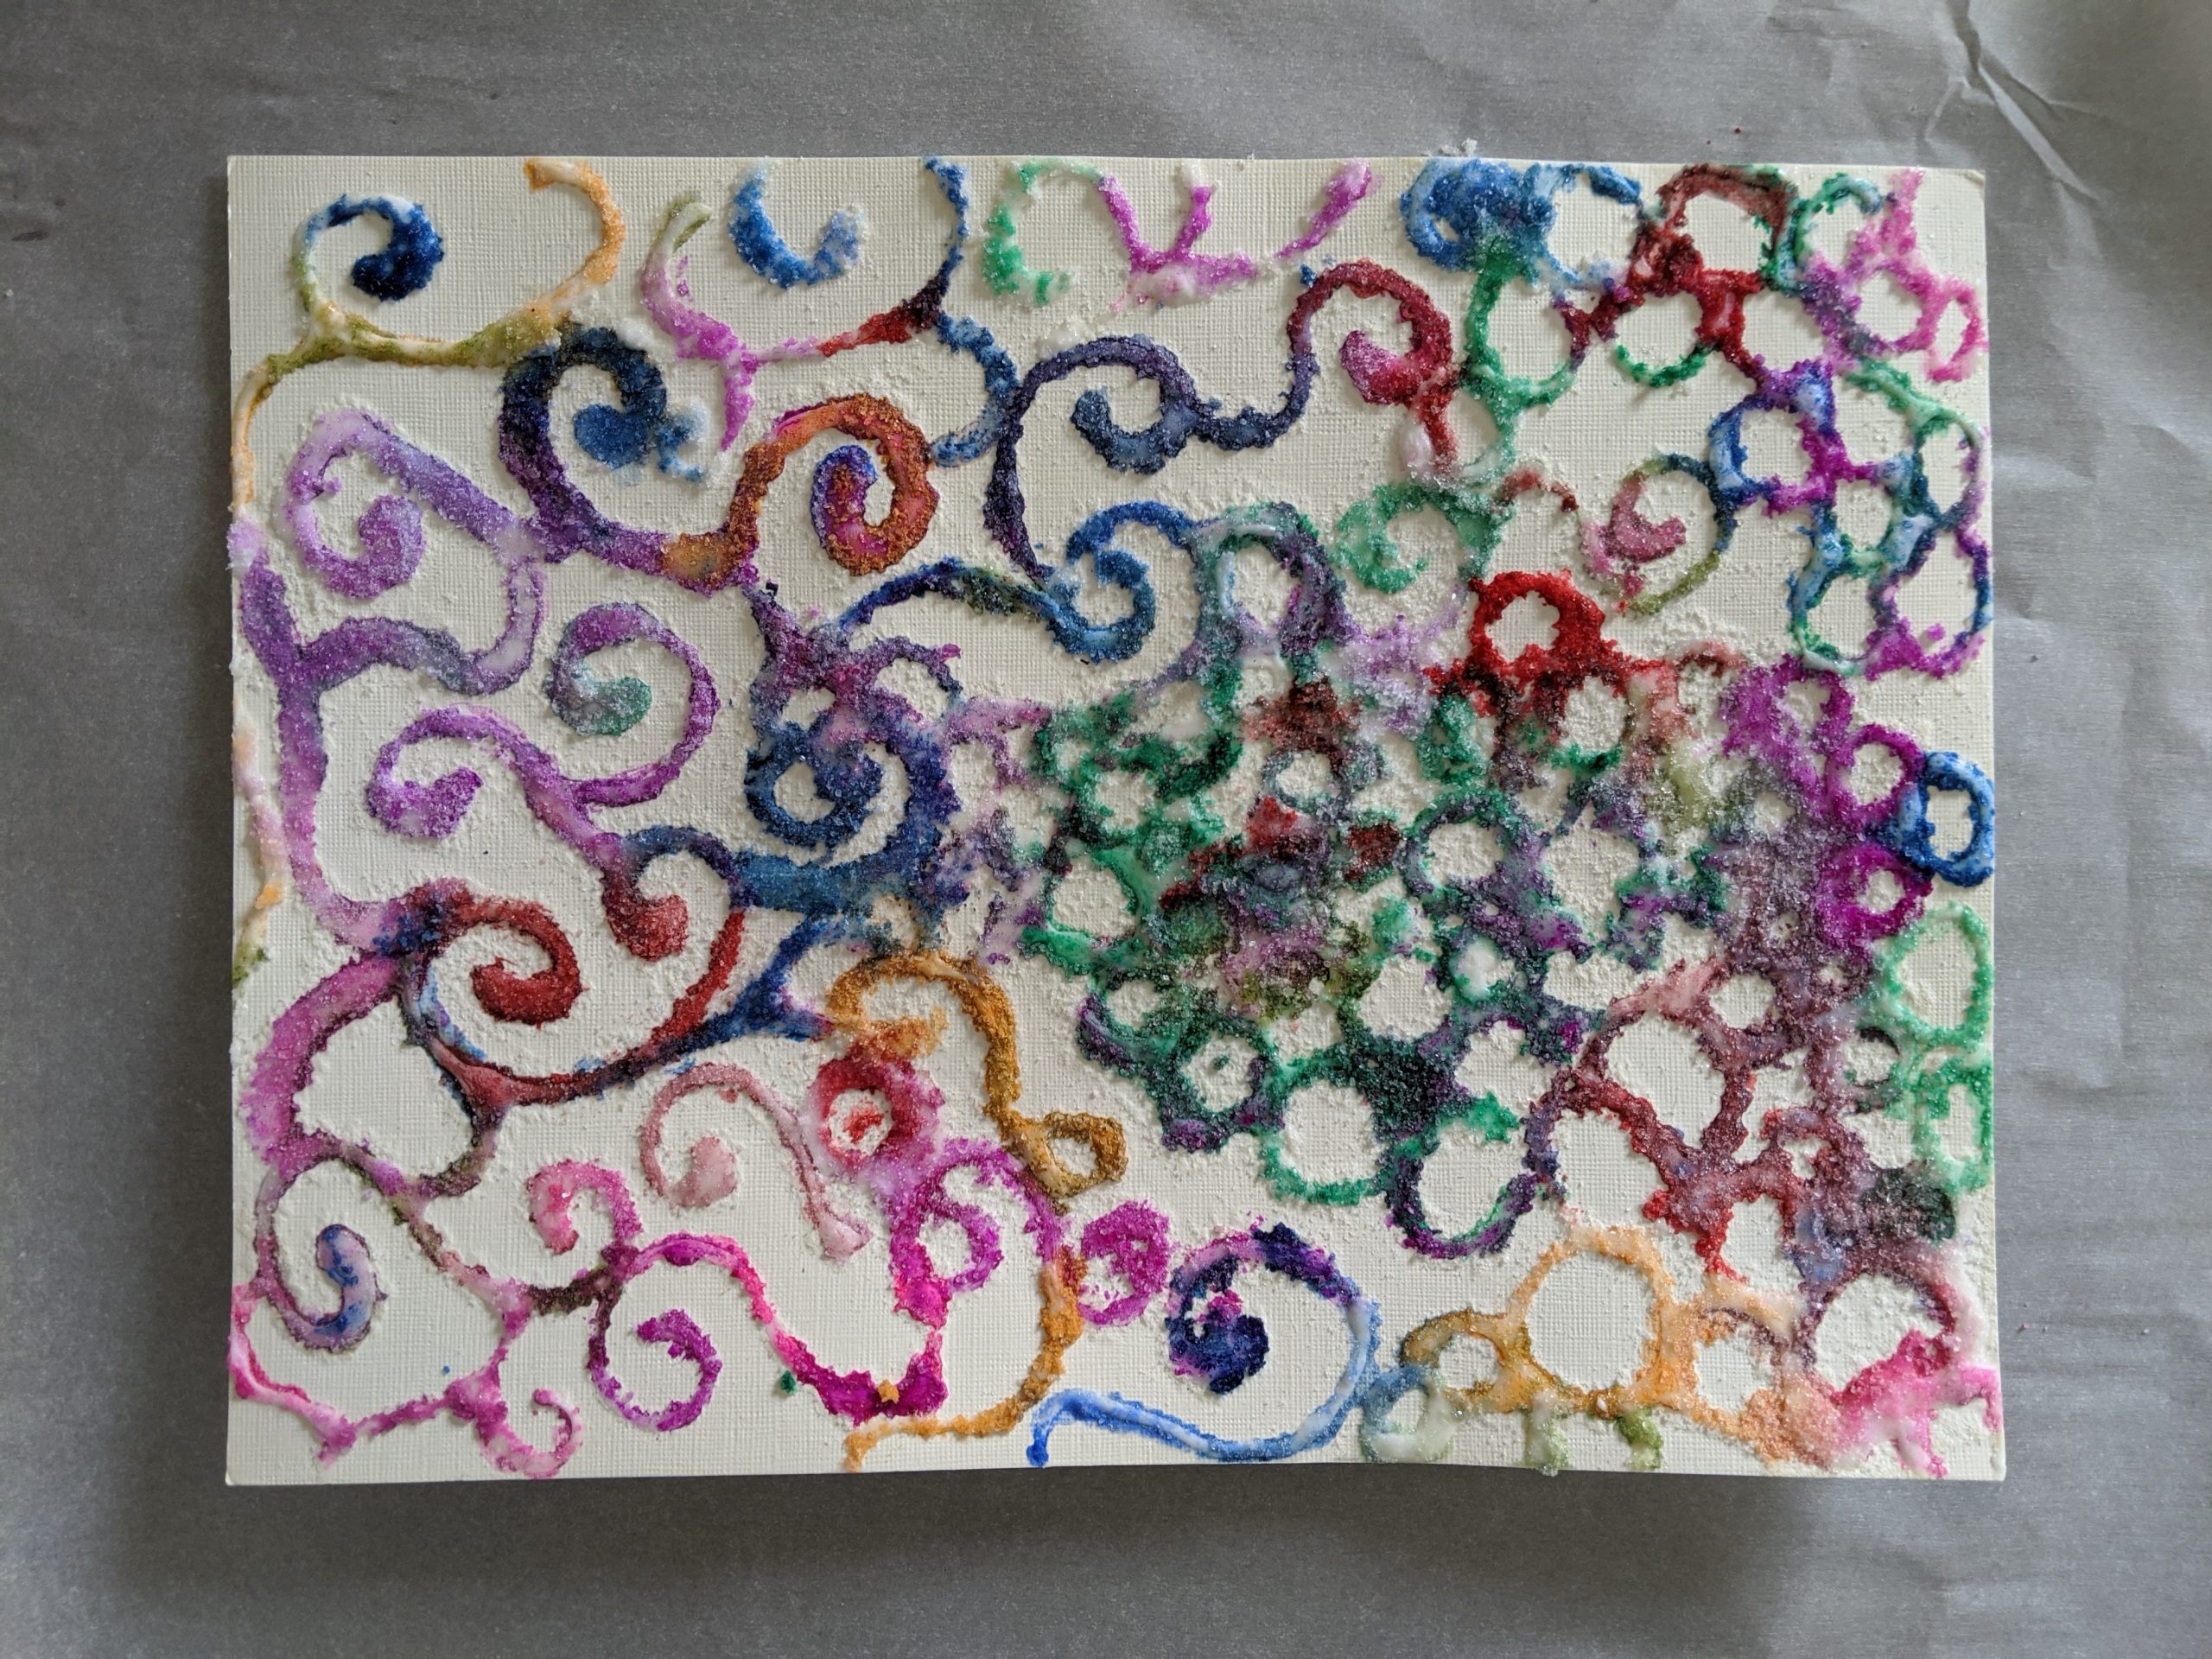
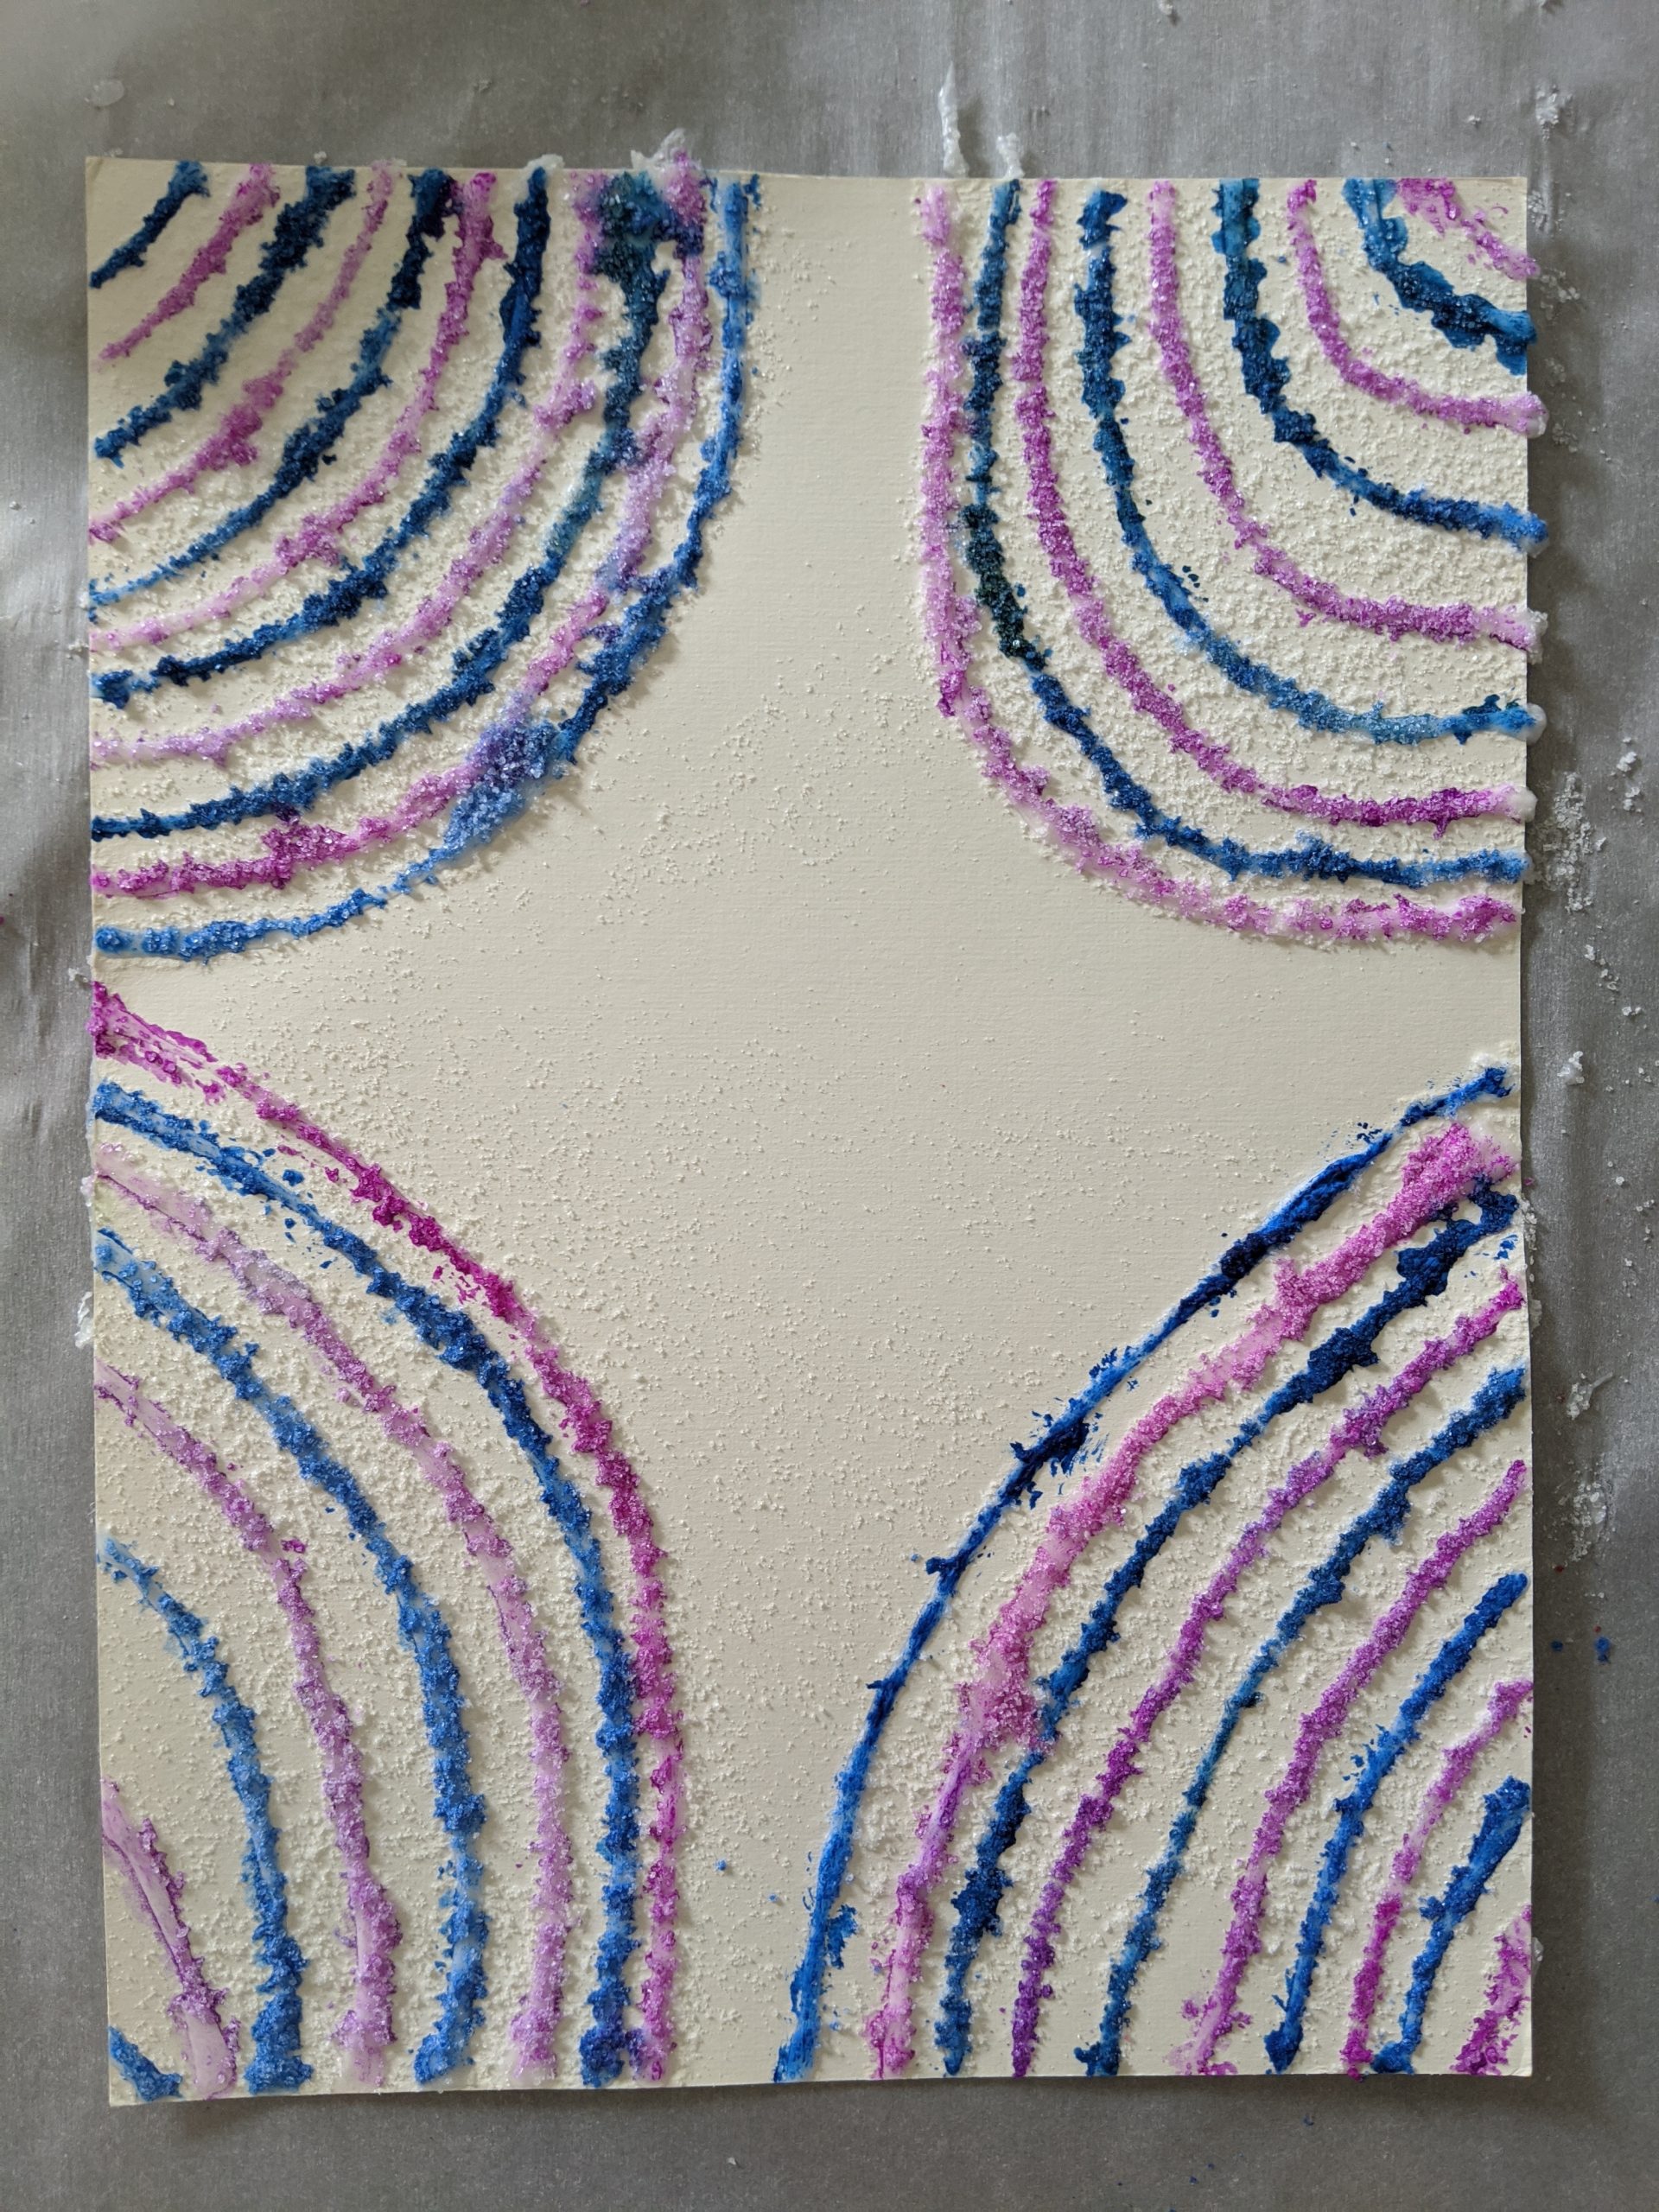
For this week’s project, readers are encouraged to try salt painting. This is an activity that is great for both adults and children alike. It is worth noting that it can get quite messy, so if you’re working with small children it may be worth doing outside. If you’re doing this inside, it is best to first lay out newspaper or another disposable paper on your work surface. This will help to prevent the salt from getting everywhere.
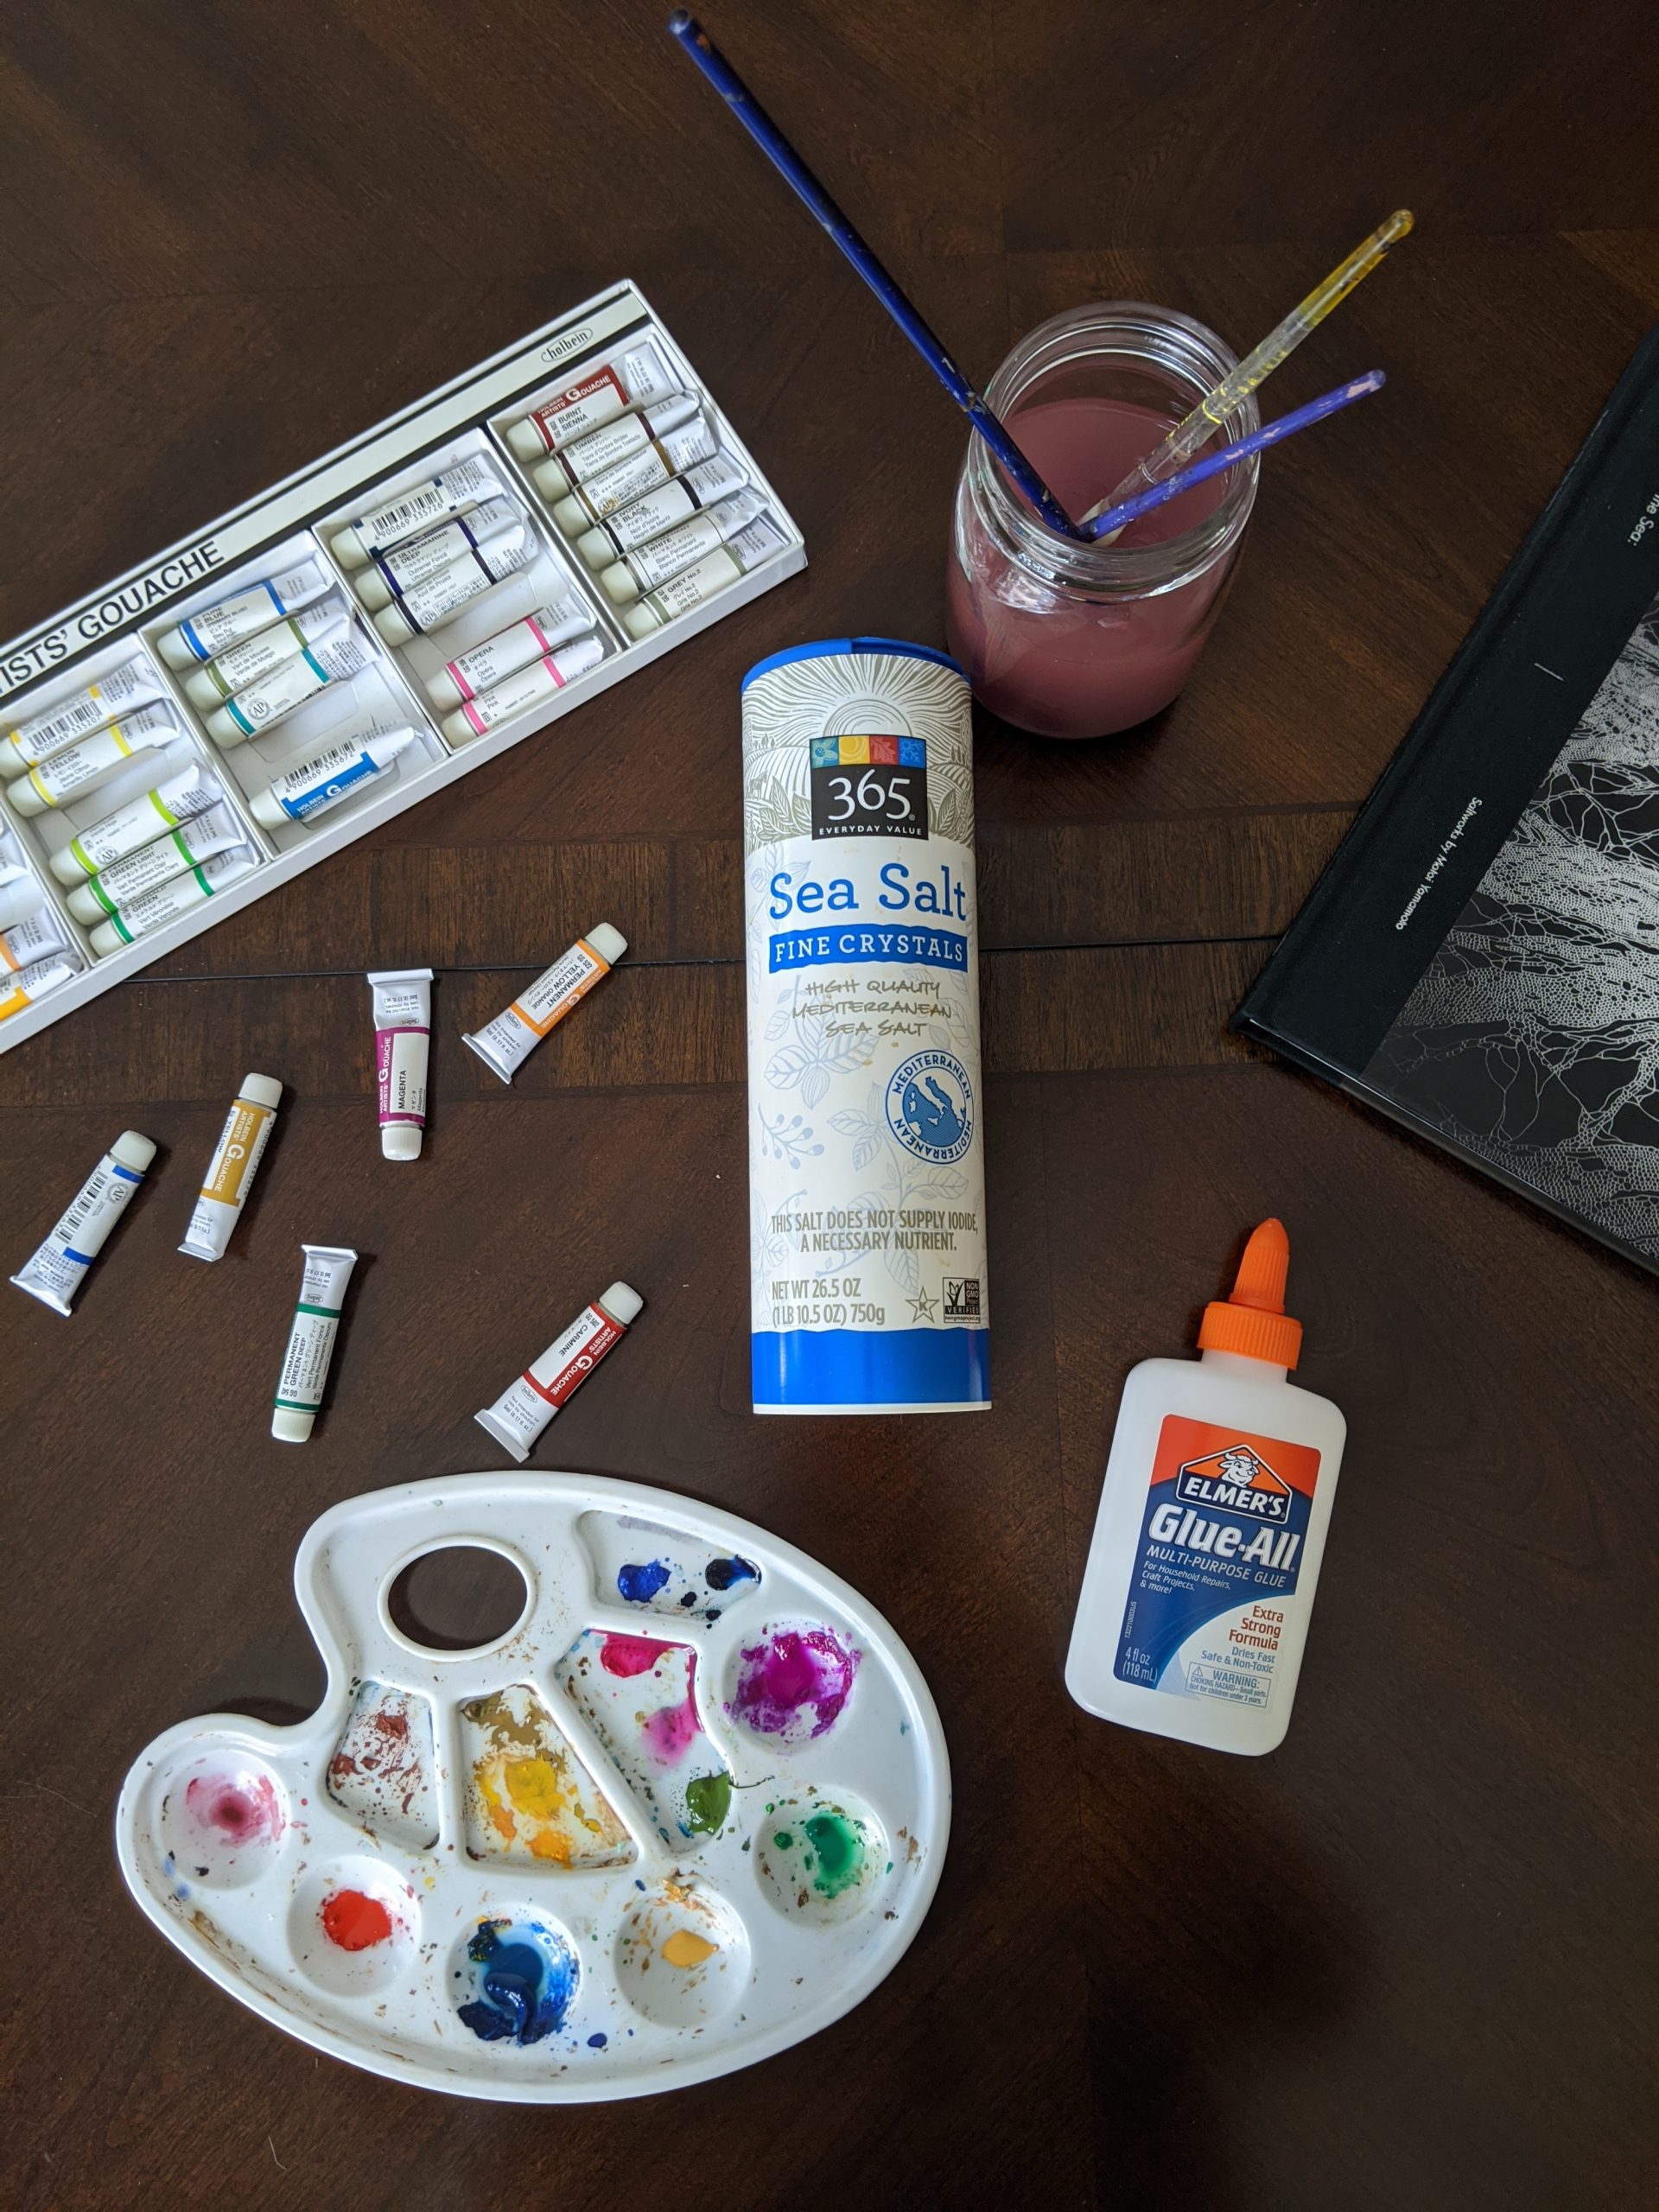 For this activity, you will need:
Instructions:
We’d love to see what everyone is creating at home. If you did either of these projects, please share with us! Please let us know by email at halsey@cofc.edu. Happy creating!
By Sarah Berry, Halsey Institute education coordinator