
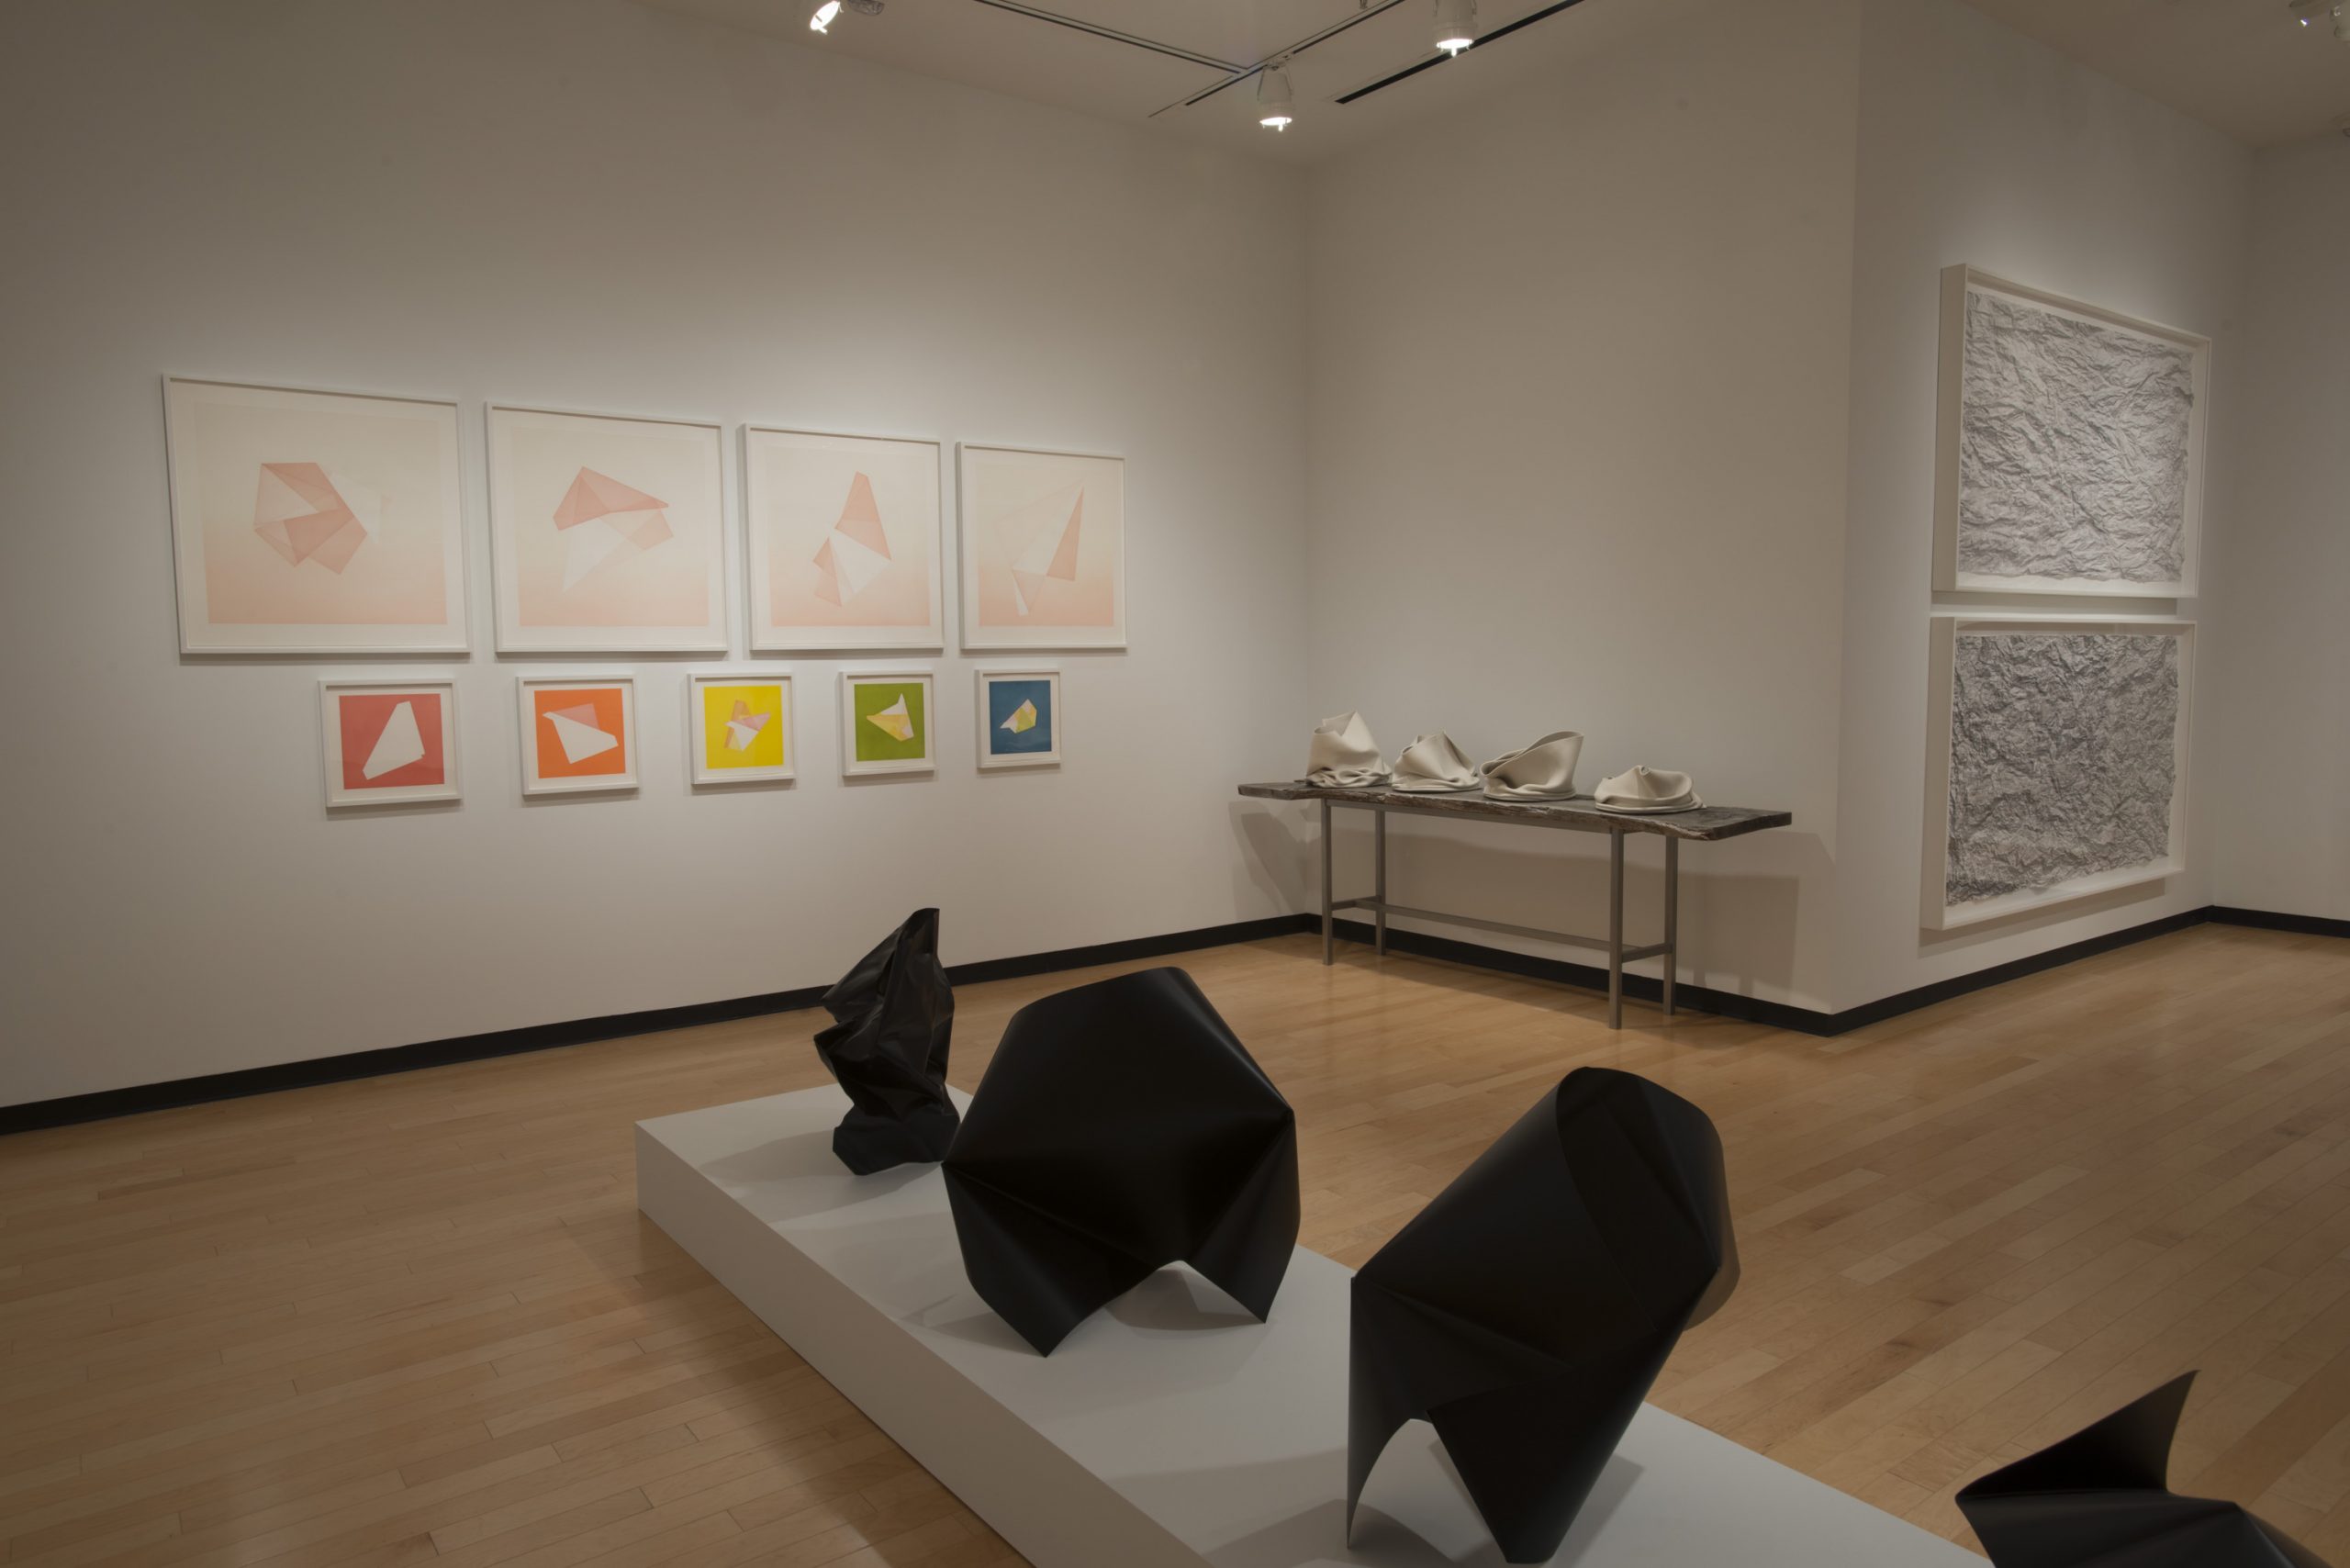
Week 6 of 10/10—Reflections on a Decade of Exhibitions brings us back to the year 2015. This week we look to the work of Alyson Shotz for art-making inspiration. Shotz is a sculptor based in Brooklyn whose work investigates concepts of space, light, perception and gravity. Her sculptures are made from a variety of materials such as mirror, glass beads, plastic lenses, thread, and steel wire. Before becoming an artist, she briefly studied geology and was deeply fascinated with the role of water on Earth, no doubt an early influence on her work today. Shotz continues to combine multiple disciplines, incorporating fields such as mathematic principles, scientific methods, and literature in her work.
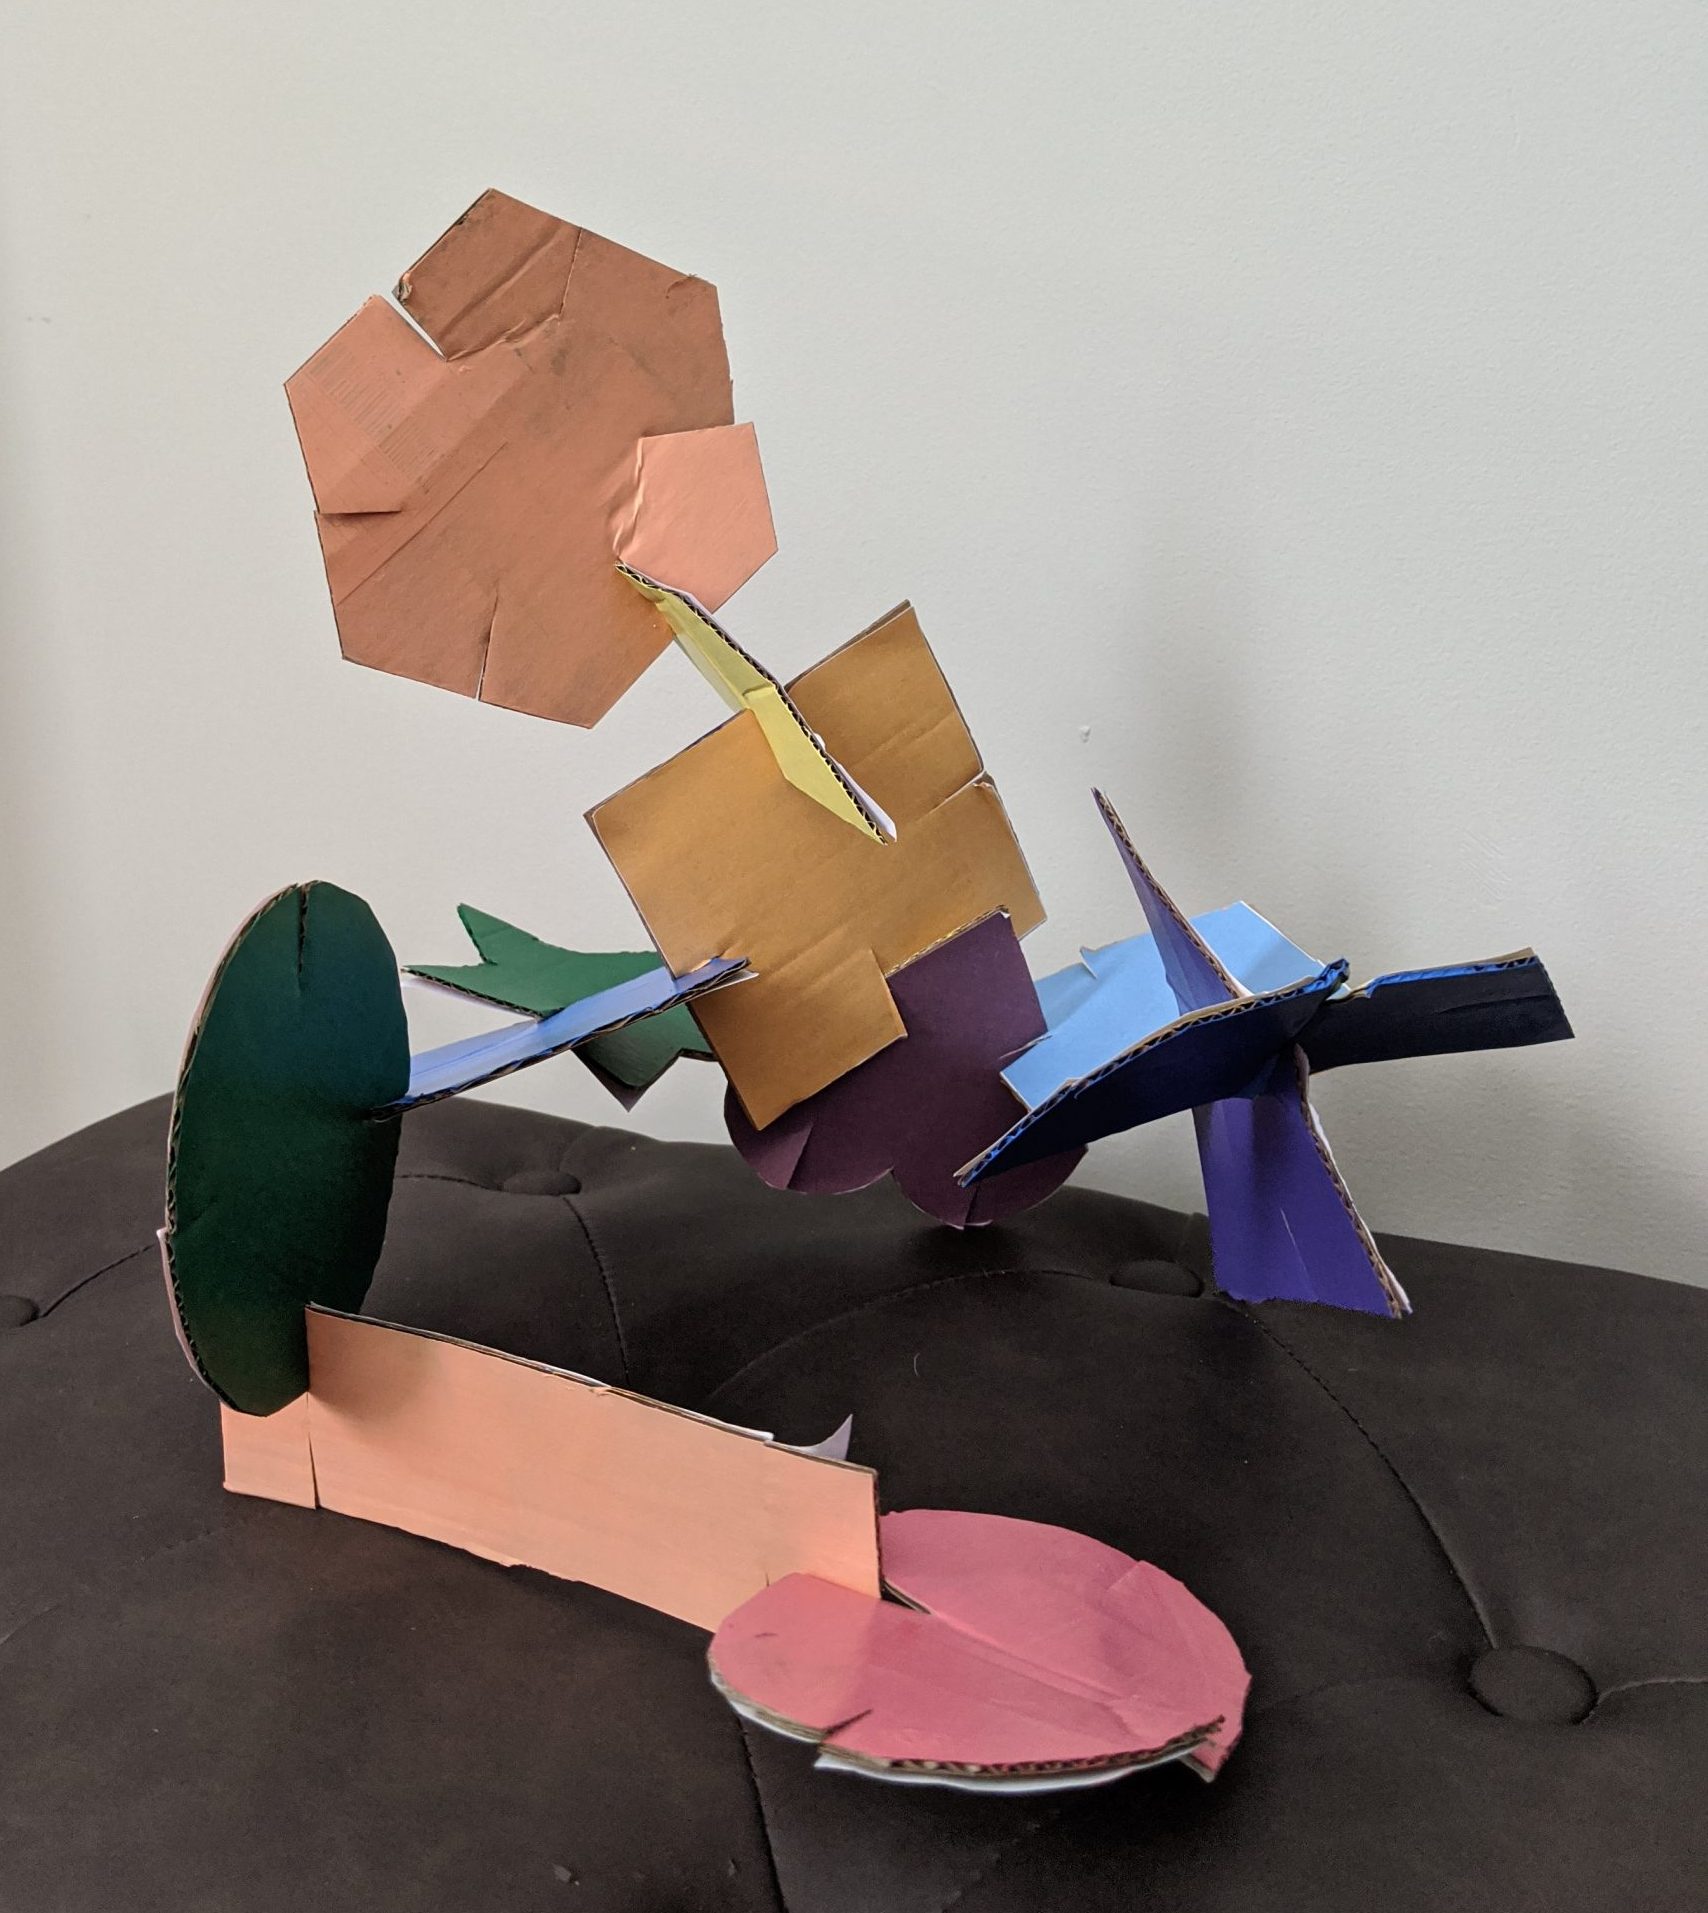
For this week’s art activity, we wanted to highlight the geometry at play in Alyson Shotz’s work and chose a geometric cardboard sculpture that is easy enough for children to do on their own and can also be made into a more advanced activity for adults. This activity was adapted from this blog. All you need is some cardboard, scissors or an X-acto knife, and paint or markers. You can use this template for shapes, or just draw your own.
Instructions:
If you’re looking for more activities that explore geometry and art, you can try making slinky sculpture process art or paper slinky keychains. Both are likely to keep children occupied for a while and are entertaining, educational, and low cost.
If you did this project or something similar, please share with us! Let us know by email at halsey@cofc.edu. Happy creating!
By Sarah Berry, Halsey Institute education coordinator